One of you I know has signed up for a very cute BOM called Dolly and Me. I am so tempted. There are several shops selling it as pattern or kit.
Where was I? That's right Welcome to the North Pole.
I need to stay on track.
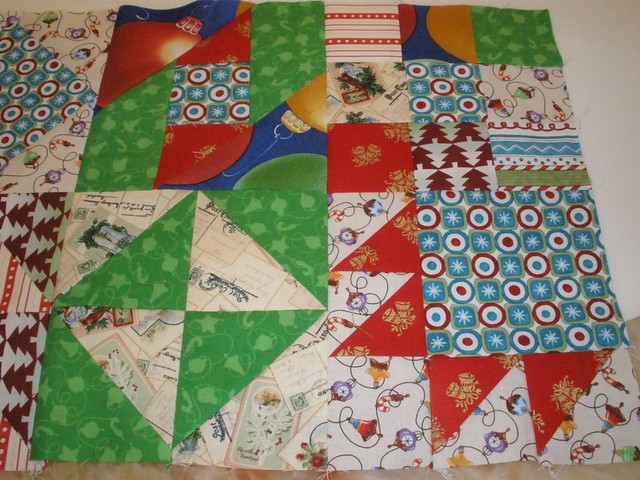
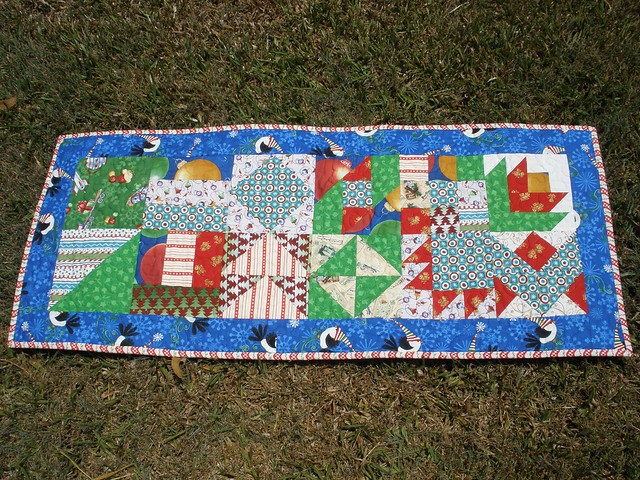
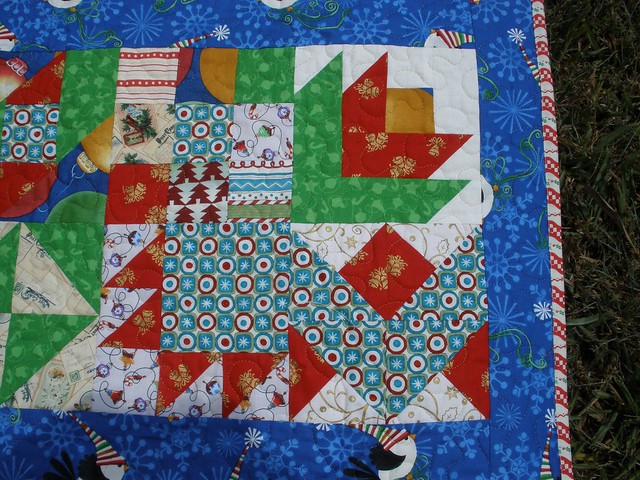
I pulled out all my Christmas fabrics because I wanted to make it bright and colourful. Also instead of dark blue backgrounds I have planned white for the bottom section and night sky blue for the top section with Santa's sleigh so it will be much lighter than the one in the book.

Because I wanted a quilt to go on a bed I had to make it a bit bigger. I also wanted a scenic look rather than disjointed blocks. I pulled out my 12 inch scrapbooking papers (the ones I have had for 15 years and have been eaten round the edges by silverfish) and started drawing up some blocks.
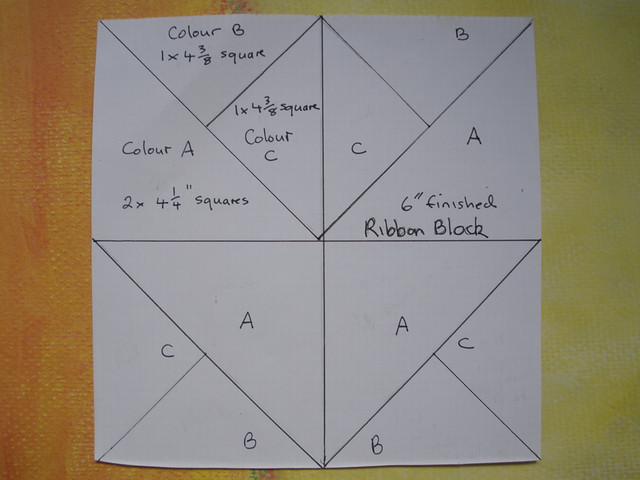
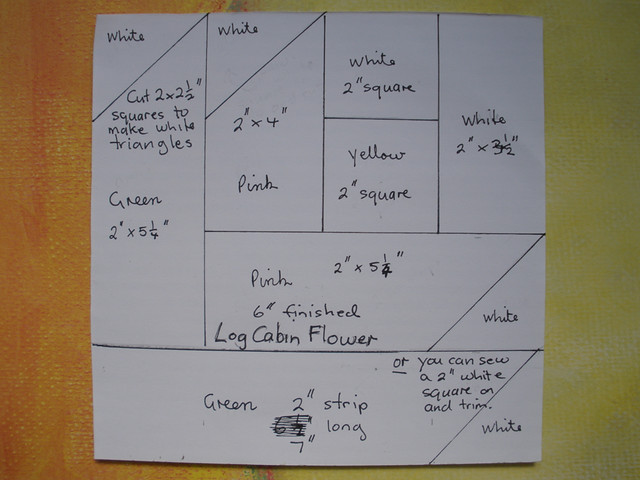
This is what I came up with.
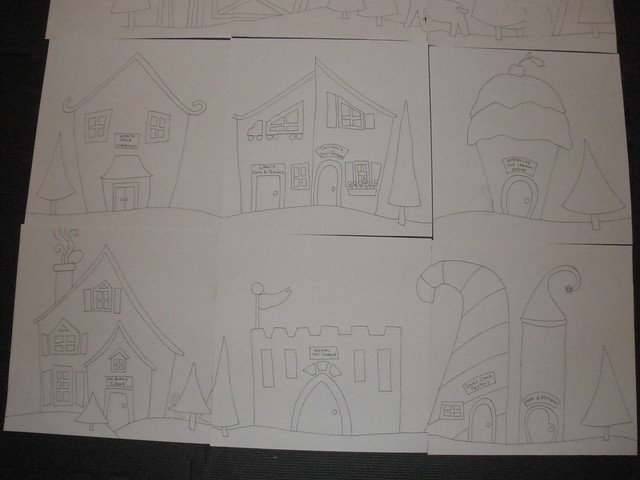 |
| Rows 1 and 2 |
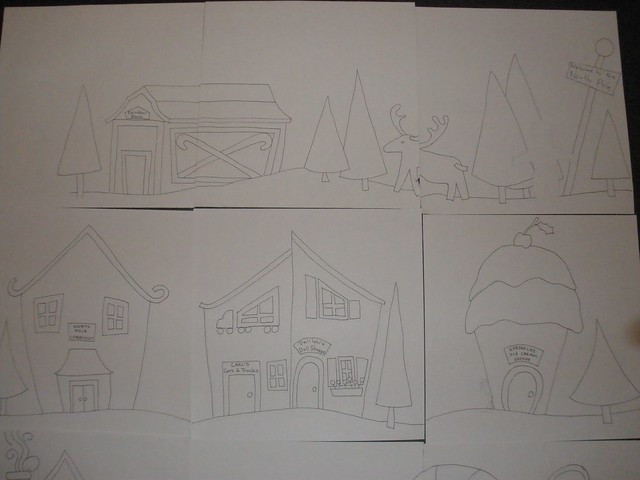 |
| Rows 2 and 3 |
Santa and his sleigh will probably be straight off the pattern because it is a bit hard to redraw it.
I wanted snow flake fabric but I didn't have any and I couldn't see just what I wanted on the internet so I settled for white. I think I will hand stitch some snowflakes on each block.
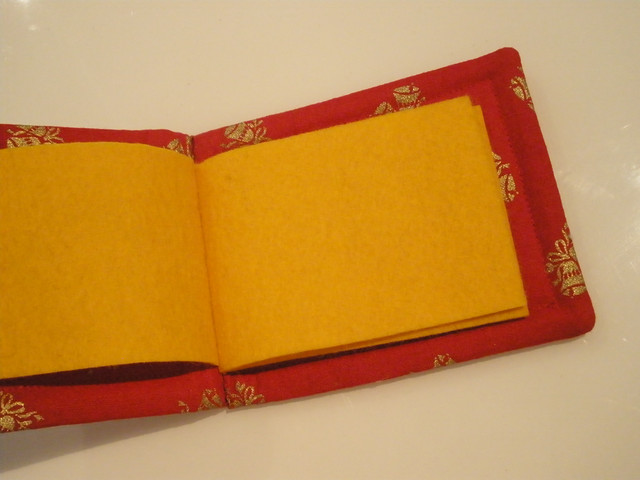
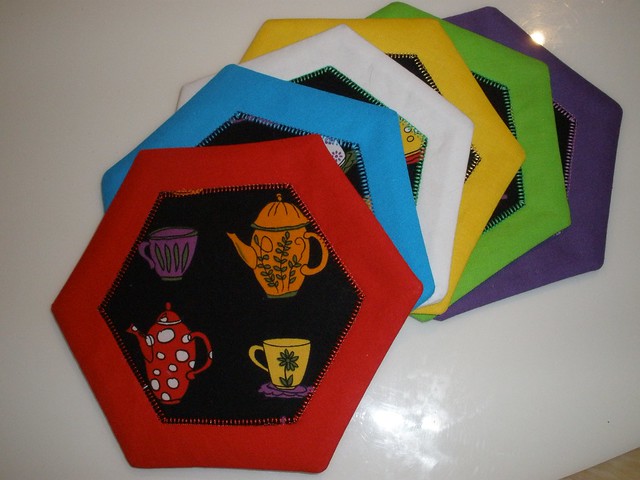
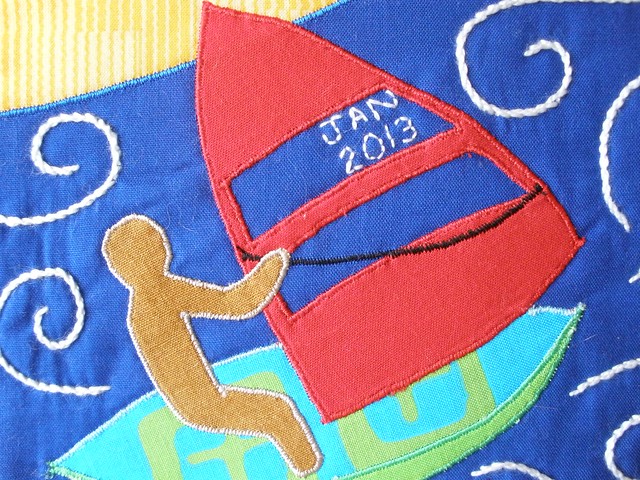
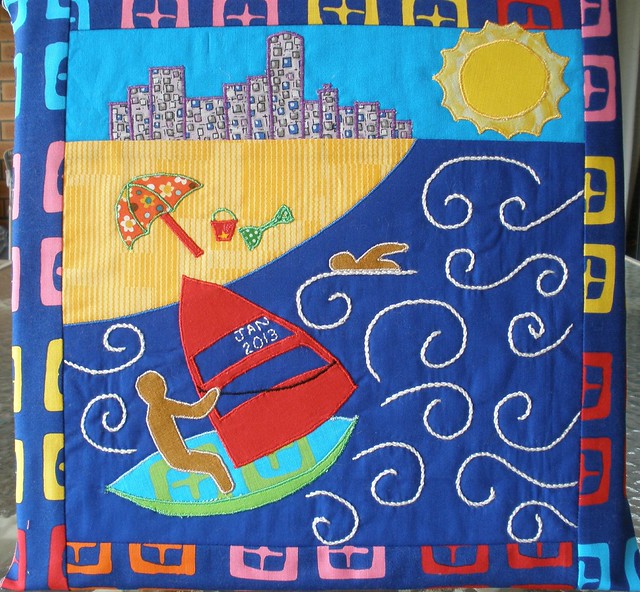
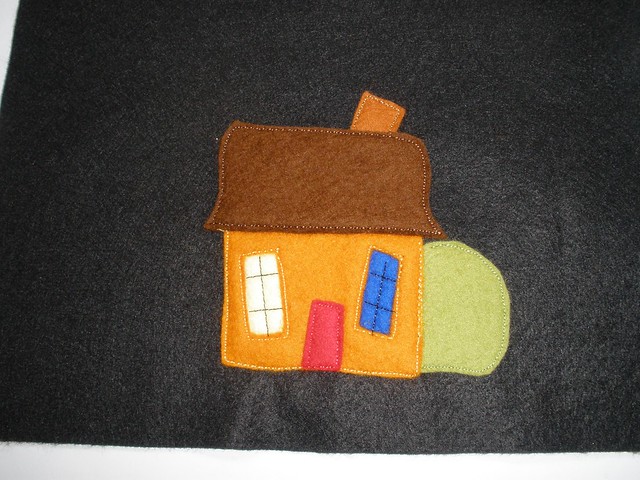
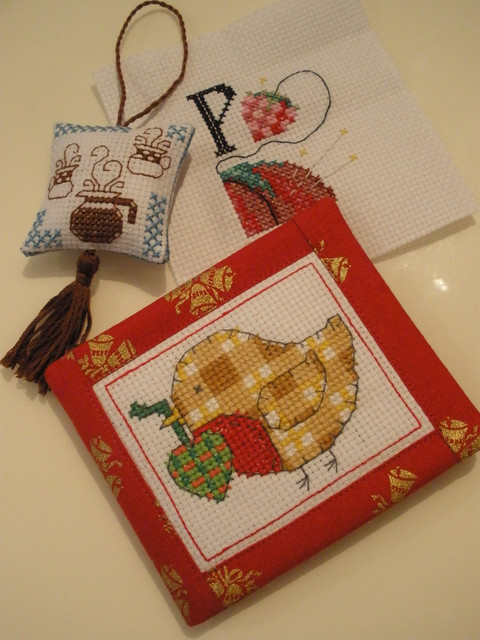
I started Mr and Mrs Clause's house and almost have it finished. The reason it is not finished is I found a wall hanging kit that I planned to make for my mum and just started it. It is cute sandpipers on a beach. I will show that one another time.
 |
| Almost finished |
If you are quilting along add your name to the linky and link it up to your post about the quilt.
If you are not in the QAL but you have some blocks or have made this quilt you are welcome to link to your post about them. Only link up if you have a post about the quilt Welcome to the North Pole.
Please leave a comment if you visit even if it is just Hi Val, just looking. If you have a blog I always like to look back. Also make sure you have an email connected to your profile so I can reply to your comments.
Please leave a comment if you visit even if it is just Hi Val, just looking. If you have a blog I always like to look back. Also make sure you have an email connected to your profile so I can reply to your comments.
Happy Quilting,
Val


.jpg)